Connect with us!
C and C++ programming with Visual Studio Code Editor on Windows
In this article I will guide you through the steps on how to configure C and C ++ compiler in visual studio code editor and how to run the program.
Table of Contents
Installing Mysys2
Firstly to install C and C++ compiler for windows we will be using Msys2. Msys2 is a software distribution for building, installing and running native Windows software.
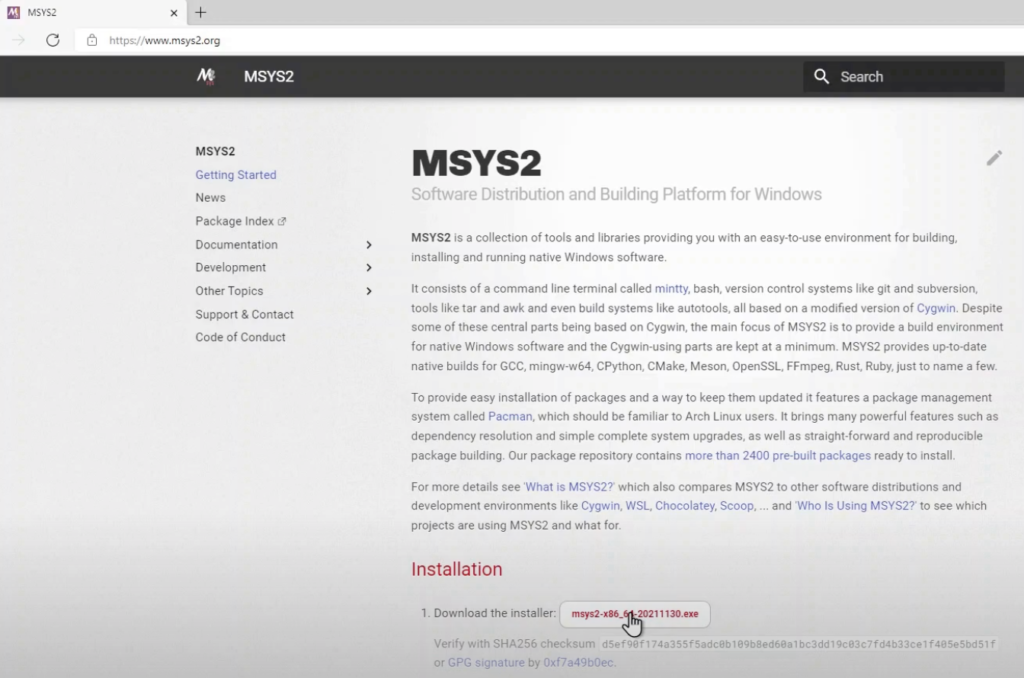
To download it go to www.msys2.org click on the Download the installer.
Once you download msys, open the file in folder and double click the file. Now an installation wizard will pop up. After that click next and add the path where you want to save it.
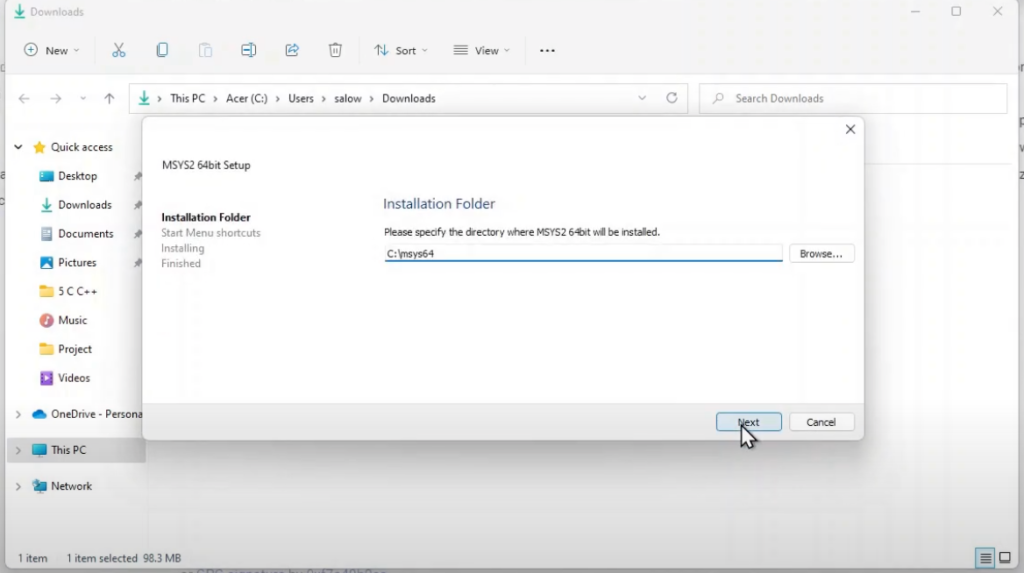
Once you have added the path click next again the installer will start installing Msys2.
Updating and Building C/C++ environment for windows
After installation is complete click on windows icon and search for MSYS2 MSYS and click enter. This will open the msys2 terminal for windows.
Now type in pacman -Syu in the terminal and press enter. This should start Synchronizing package databases.
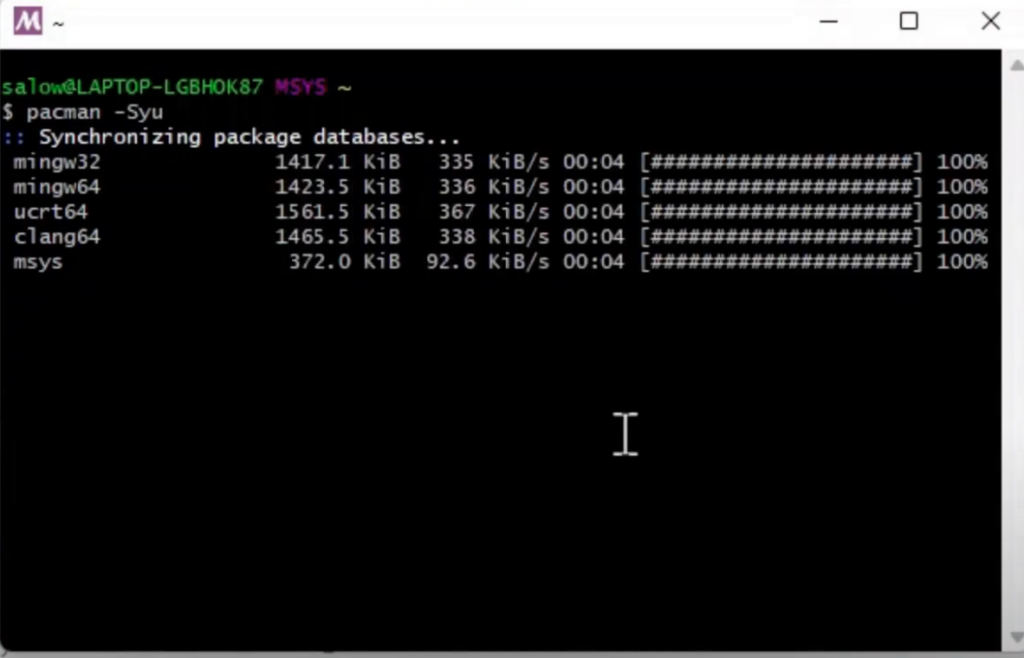
Once the synchronisation of packages are complete, it will prompt whether to “Proceed with installation?” Type “Y” and press enter.
After it is done terminal will prompt to Confirm to proceed. Now Type “Y and press enter.
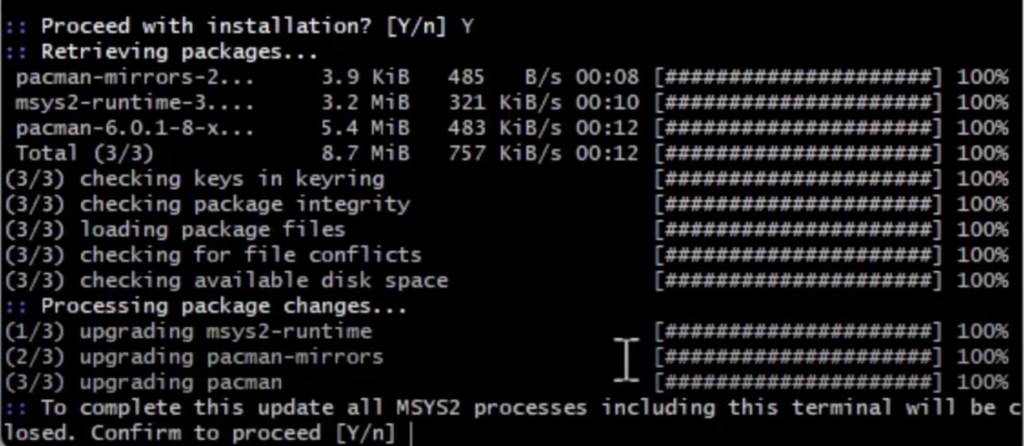
After you proceed to confirm the terminal will close automatically.
Again Click on windows icon and search for MSYS2 MSYS and click enter. This will open the msys2 terminal for windows.
Now type in pacman -Su in the terminal and press enter. This should start Core System upgrade.
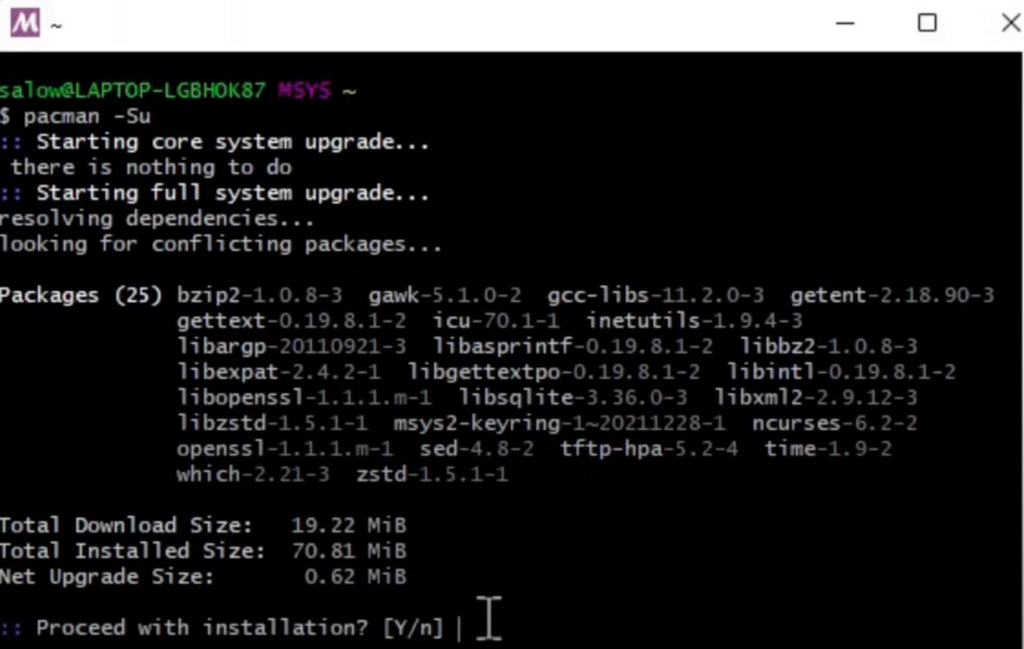
It will prompt whether to “Proceed with installation?” Type “Y” and press enter.
After the installation is complete you will see the $ sign. Type “pacman -S –needed base-devel mingw-w64-x86_64-toolchain”.
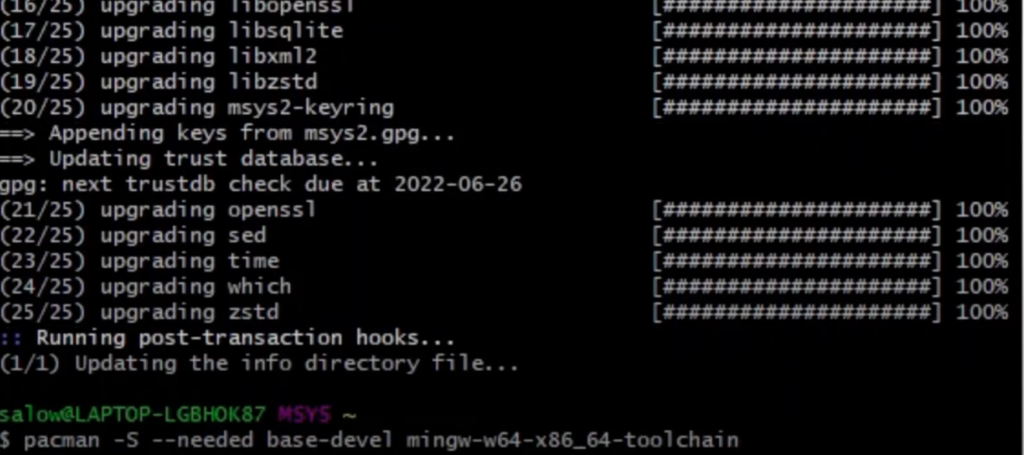
Terminal will prompt whether to “Proceed with installation?” Type “Y” and press enter.
Again terminal will prompt to “Enter a selection”, Type enter
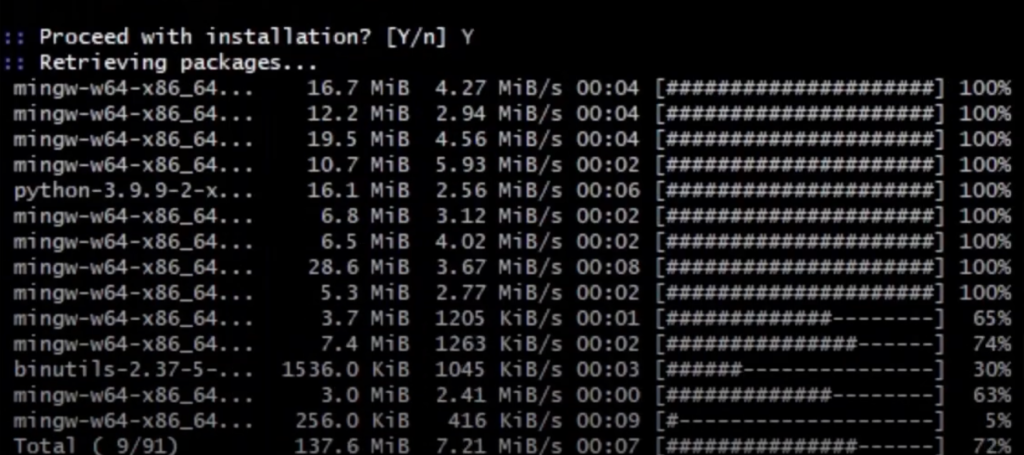
Again it will prompt type enter.
Now the terminal will again prompt whether to “Proceed with installation?” Type “Y” and press enter.
Adding the Msys2 Path to System environmental variable for windows
Add the path of Mingw-w64 bin folder to windows PATH environmental variable.
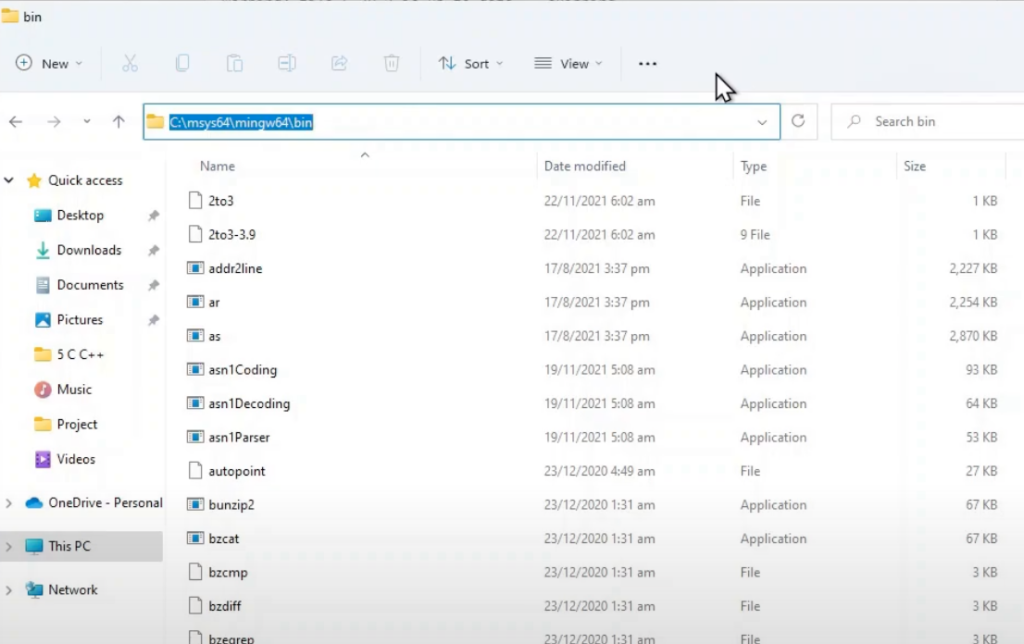
Click on the windows icon and search “Edit environment variables for your account”and press enter.
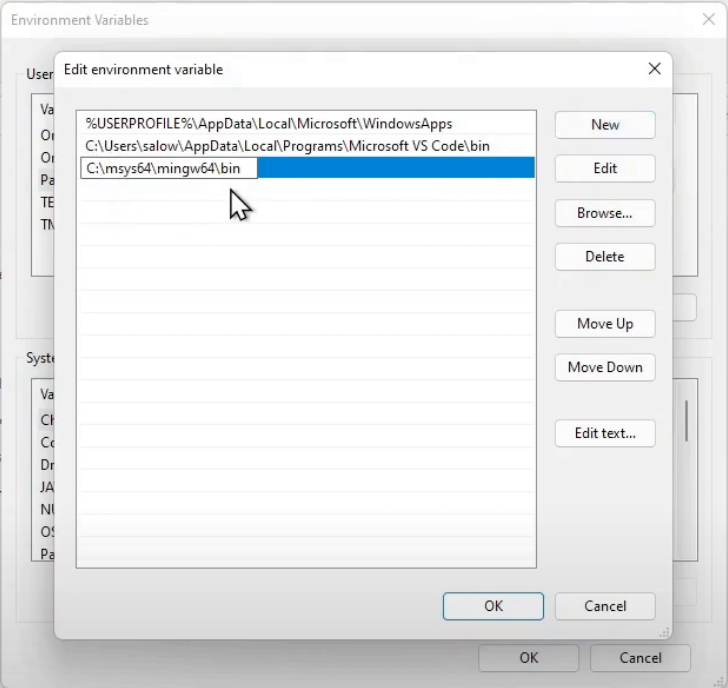
Choose the “Path” variable and then select Edit.
Select New and add the Mingw-w64 destination folder path to the system path. The exact path depends on which version of Mingw-w64 you have installed and where you installed it. If you used the settings above to install Mingw-w64, then add this to the path: C:\msys64\mingw64\bin.
Select OK to save the updated PATH.
Checking gcc and gdb version using Command Prompt
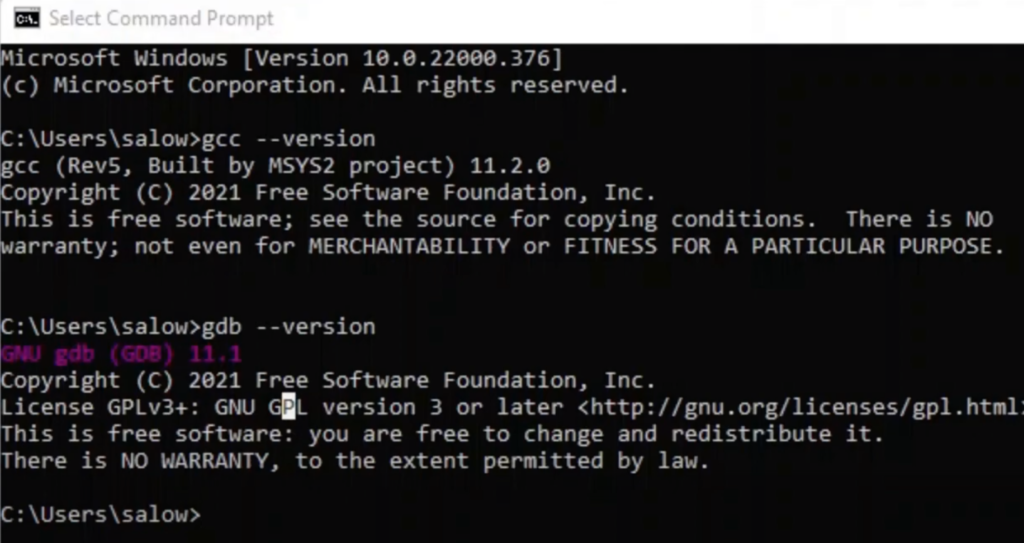
Click on windows icon and search for “cmd” this will open your command prompt. Now type in “gcc –version” it should display the GCC version. This is to ensure the installation of C compiler.
Type “gdb – – version” it should display GDB version. This is to ensure installation of C debugger.
C C++ on Windows Video Tutorial
Installing Visual Studio Code Editor
Now we are going to install Visual Studio code. For this, go to code.visualstudio.com and click the download button.
After download is complete, open the file in the folder and double click the downloaded file.
And you will see the installation wizard popping up.
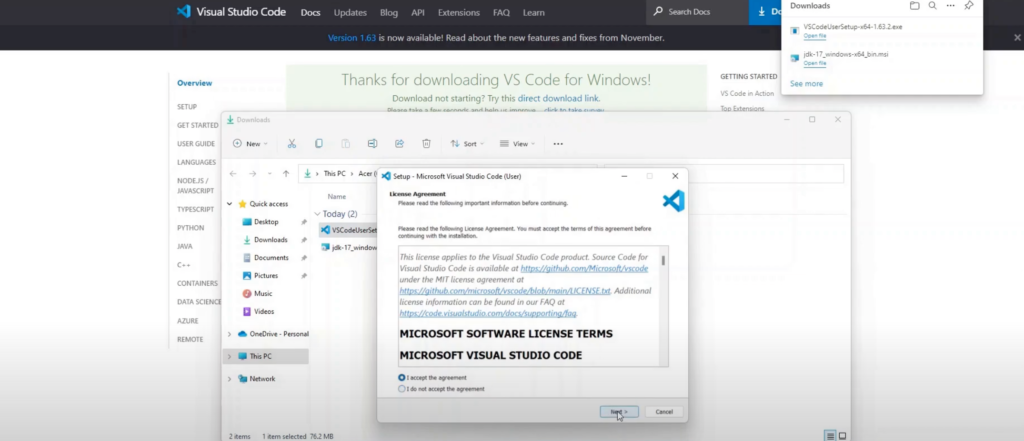
Use the default settings to install VS code.
Configuring C/C++ for Visual Studio Code
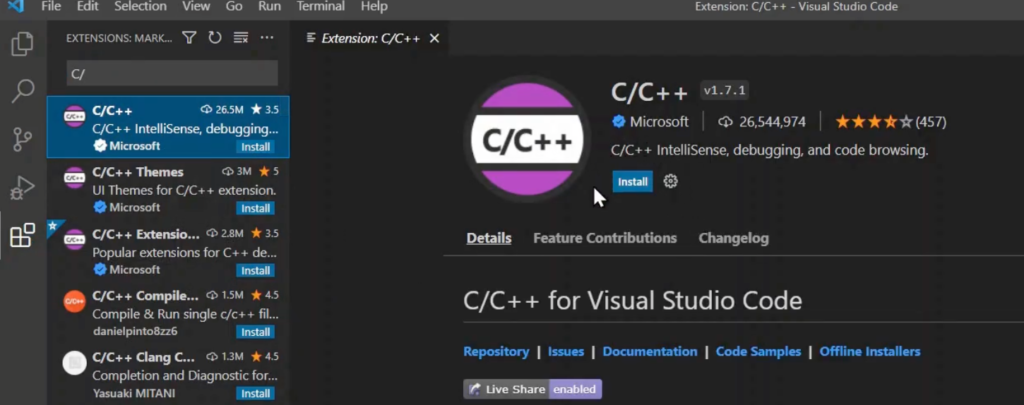
Click on the extension tab on left panel and search for “C/C++” by Microsoft and click on install and it should install all the necessary packages to run C/ C++.
Creating C Project
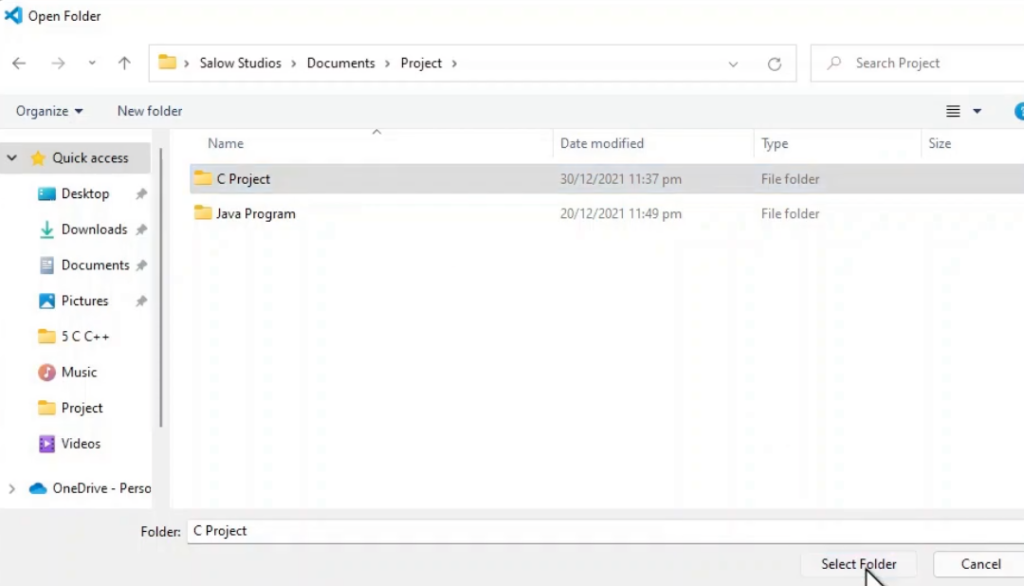
To create a new project go to the explorer tab and click on “Open Folder” Choose an empty folder. We will be creating a folder called “C Project” and click on “Select Folder”
Creating C Program on Visual Studio
Click on the “New File” icon from the left panel. It will prompt to enter file name. We will be creating a file called “main.c”
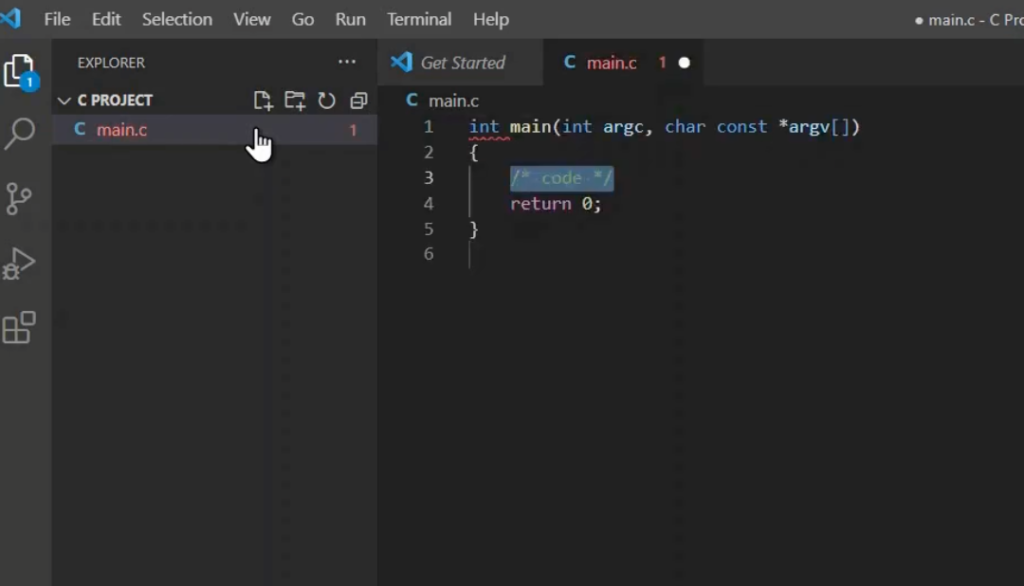
Type “main” and press enter to get int main Starter code. Add the library “#include <stdio.h>” Now we will try to print text using printf function. Save the file by going to “File->Save”
Running C Program on Visual Studio
We can run the program by select Terminal -> Select “Run Task” . It will be prompt two options select C/C++ gcc.exe build active file.
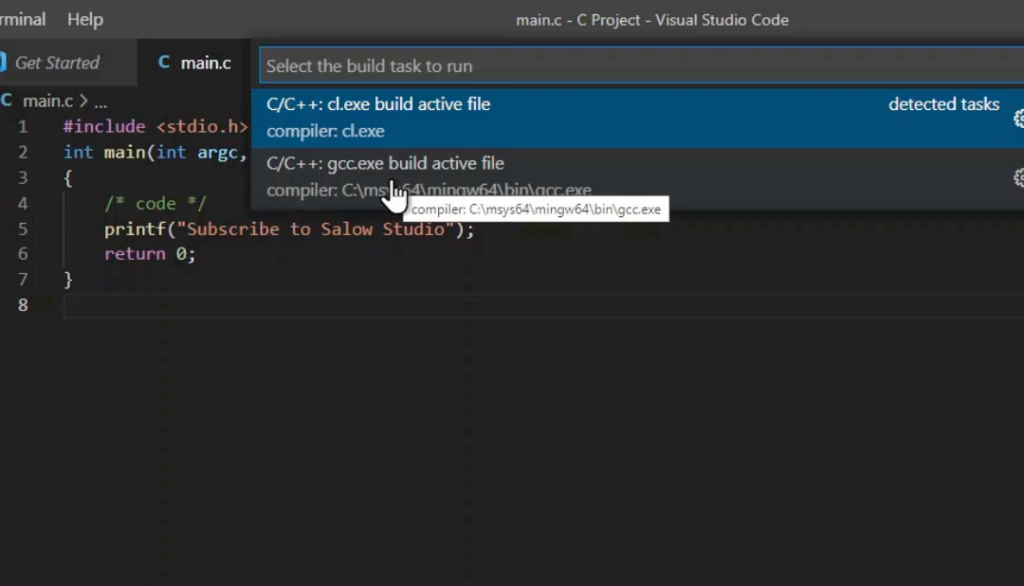
Now it will create “main.exe” file.
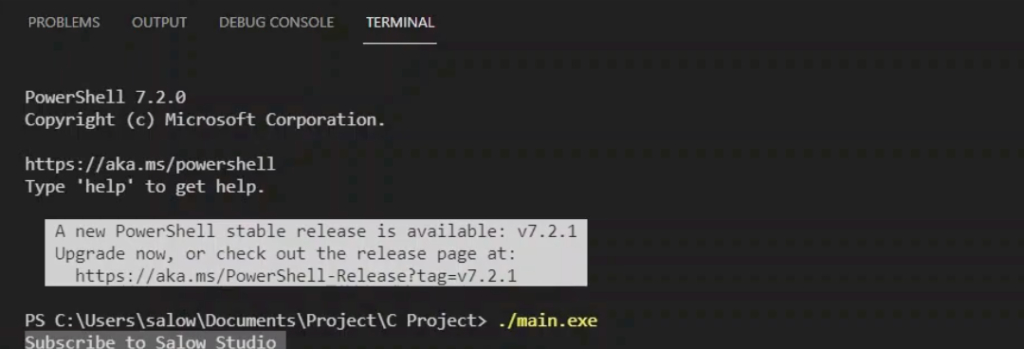
To run the program go to terminal window in the bottom panel and type .\ with name of the program followed by exe. As we have name as main it is called main.exe and press enter. We can see the output. We have successfully run the C program!
Creating C ++ Program
Now we will try to create C++ program. Click on the “New File” icon from the left panel. It will prompt to enter file name. We will be creating a file called “main.cpp”
Type “main” and press enter to get int main Starter code. Add the library “#include <iostream>” We will use the cout function to print the output text.
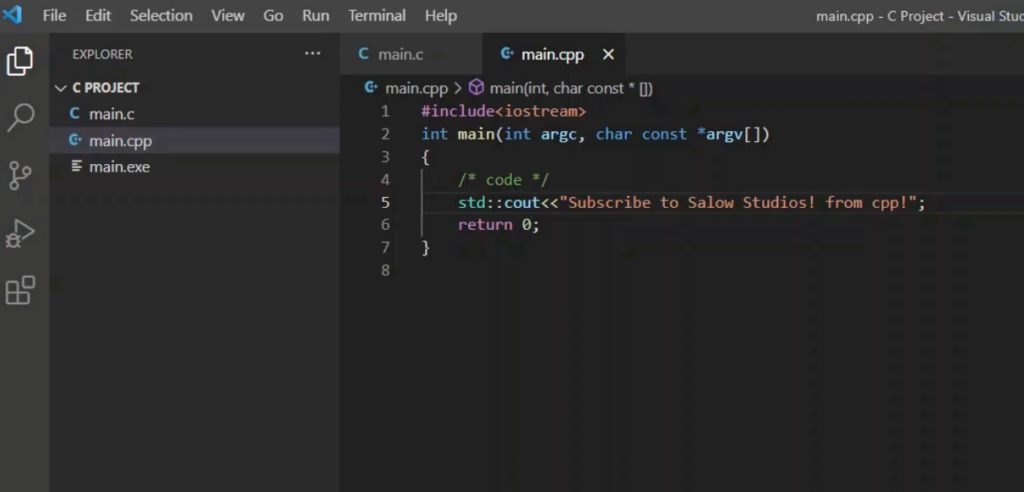
We can run the c++ program by going to terminal window in the bottom panel and type g++ followed by our C++ file name. In our case we will be using “g++ main.cpp” and press enter. This will generate “a.exe” file.
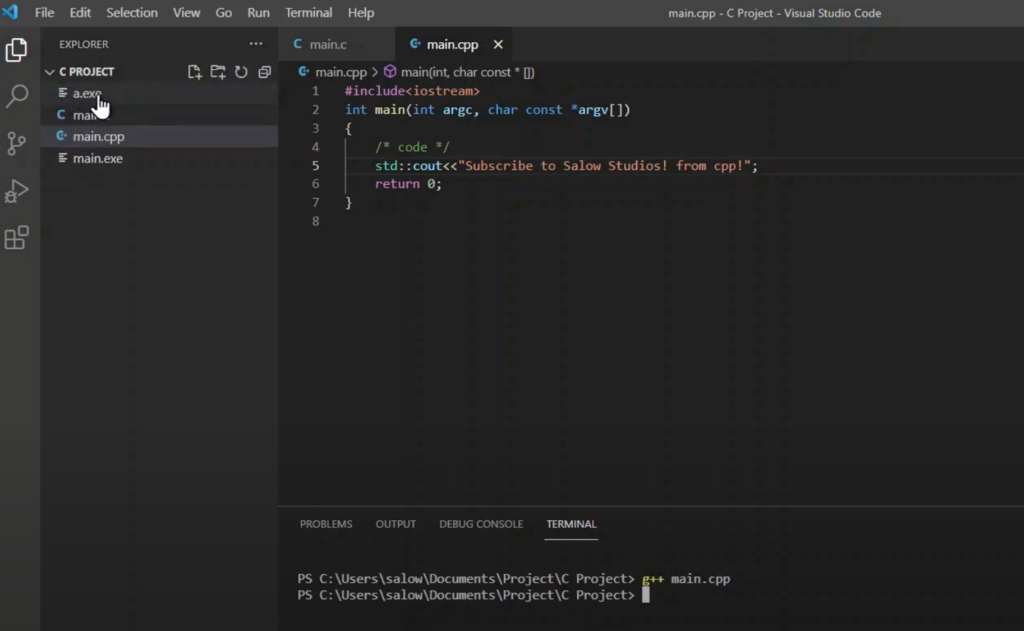
To run it type “.\a.exe” and press enter. We can see the output. We have successfully run the C++ program!

Thanks for reading. Hope this article was helpful. Happy coding!


