Connect with us!
How to run JAVA using Visual Studio Code
In this article we will see how to install and run JAVA using Visual Studio Code Editor.
Firstly we need to install Java Development Kit (JDK). This helps to implement the Java Language Specification (JLS) and the Java Virtual Machine Specification (JVMS) and provides the Standard Edition (SE) of the Java Application Programming Interface (API).
Downloading JDK
To download it, go to your favorite browser and search for Java JDK.
You can also find the link here: JDK download link
Once you get into the official website, look for downloads.

If you are in Windows click on x64 installer download link.
Installation of JDK
Once the JDK is downloaded, open the file in folder and double click the file.

An installation wizard will pop up. Click next. The installer will start installing Java JDK.

Checking JAVA Version using Command Prompt
Once installed successfully, Click on Windows Icon and search for CMD.
This will open your command prompt. Now type in java –version. It should display the Java version.

This is to ensure that the JDK is installed properly.
Now type javac –version to check the compiler is also installed properly.

Installing Visual Studio Code Editor
Now we are going to install Visual Studio code Editor. For this, go to code.visualstudio.com and click the download button.

After the download is complete we can open the file in folder. By double clicking the downloaded file an installation wizard will pop up. Use the default settings to install VS code.

Installing JAVA Extension Pack in Visual Studio Code
Click on extensions tab on left panel.And search for extension pack for Java.And click on install.
And it should install all the necessary packages to run our Java program.

Setting up JAVA Project
To create a new project, go to the Explorer tab and Open folder and choose an Empty folder.
I have named the folder as Java Program

After creating a folder chick on to create a new file. This will prompt you two options. Choose the Java class Option

In this option, it will prompt you for Class name I have named it as Main.
Now click control+S to save the file.

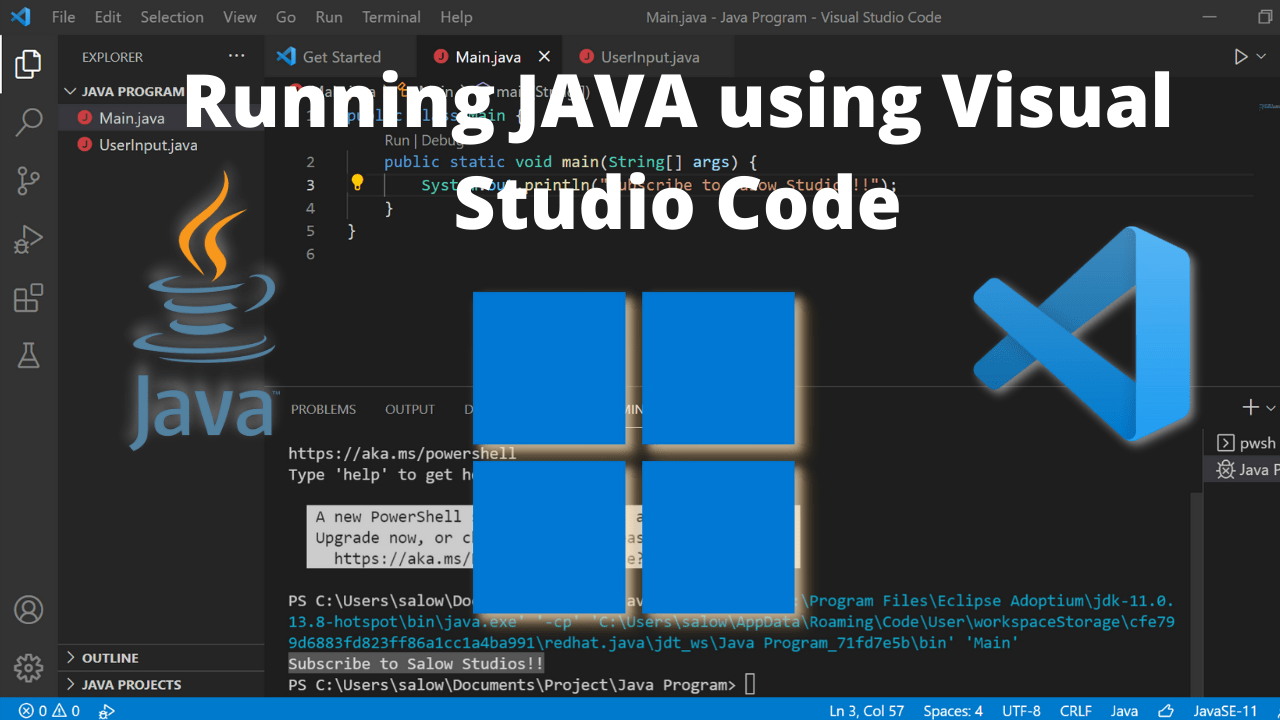
Type main and press enter to get the starter code for public static void main.
Next we will try to print out some text using System.out.println.

We will try to print out a text using System.out.println.
Save the file and run it.
You can see the result in the terminal below.

You have successfully created your first Java program in Visual Studio code.
Video
If you have any doubts please watch the video I have created for my YouTube channel.
Thank you for reading. Hope this article was helpful. Happy Coding!